Skip to content
เทคนิคแต่งภาพ สอนแต่งรูปคุมโทน วิธีแต่งรูปphotoshop วิธีแต่งรูปในโทรศัพท์
Search
Search
Close this search box.
เทคนิคแต่งภาพ สอนแต่งรูปคุมโทน วิธีแต่งรูปphotoshop วิธีแต่งรูปในโทรศัพท์
Search
Search
Close this search box.
Search
Search
7เว็บแต่งรูปฟรี แต่งรูปสวย ไม่ต้องลงโปรแกรม
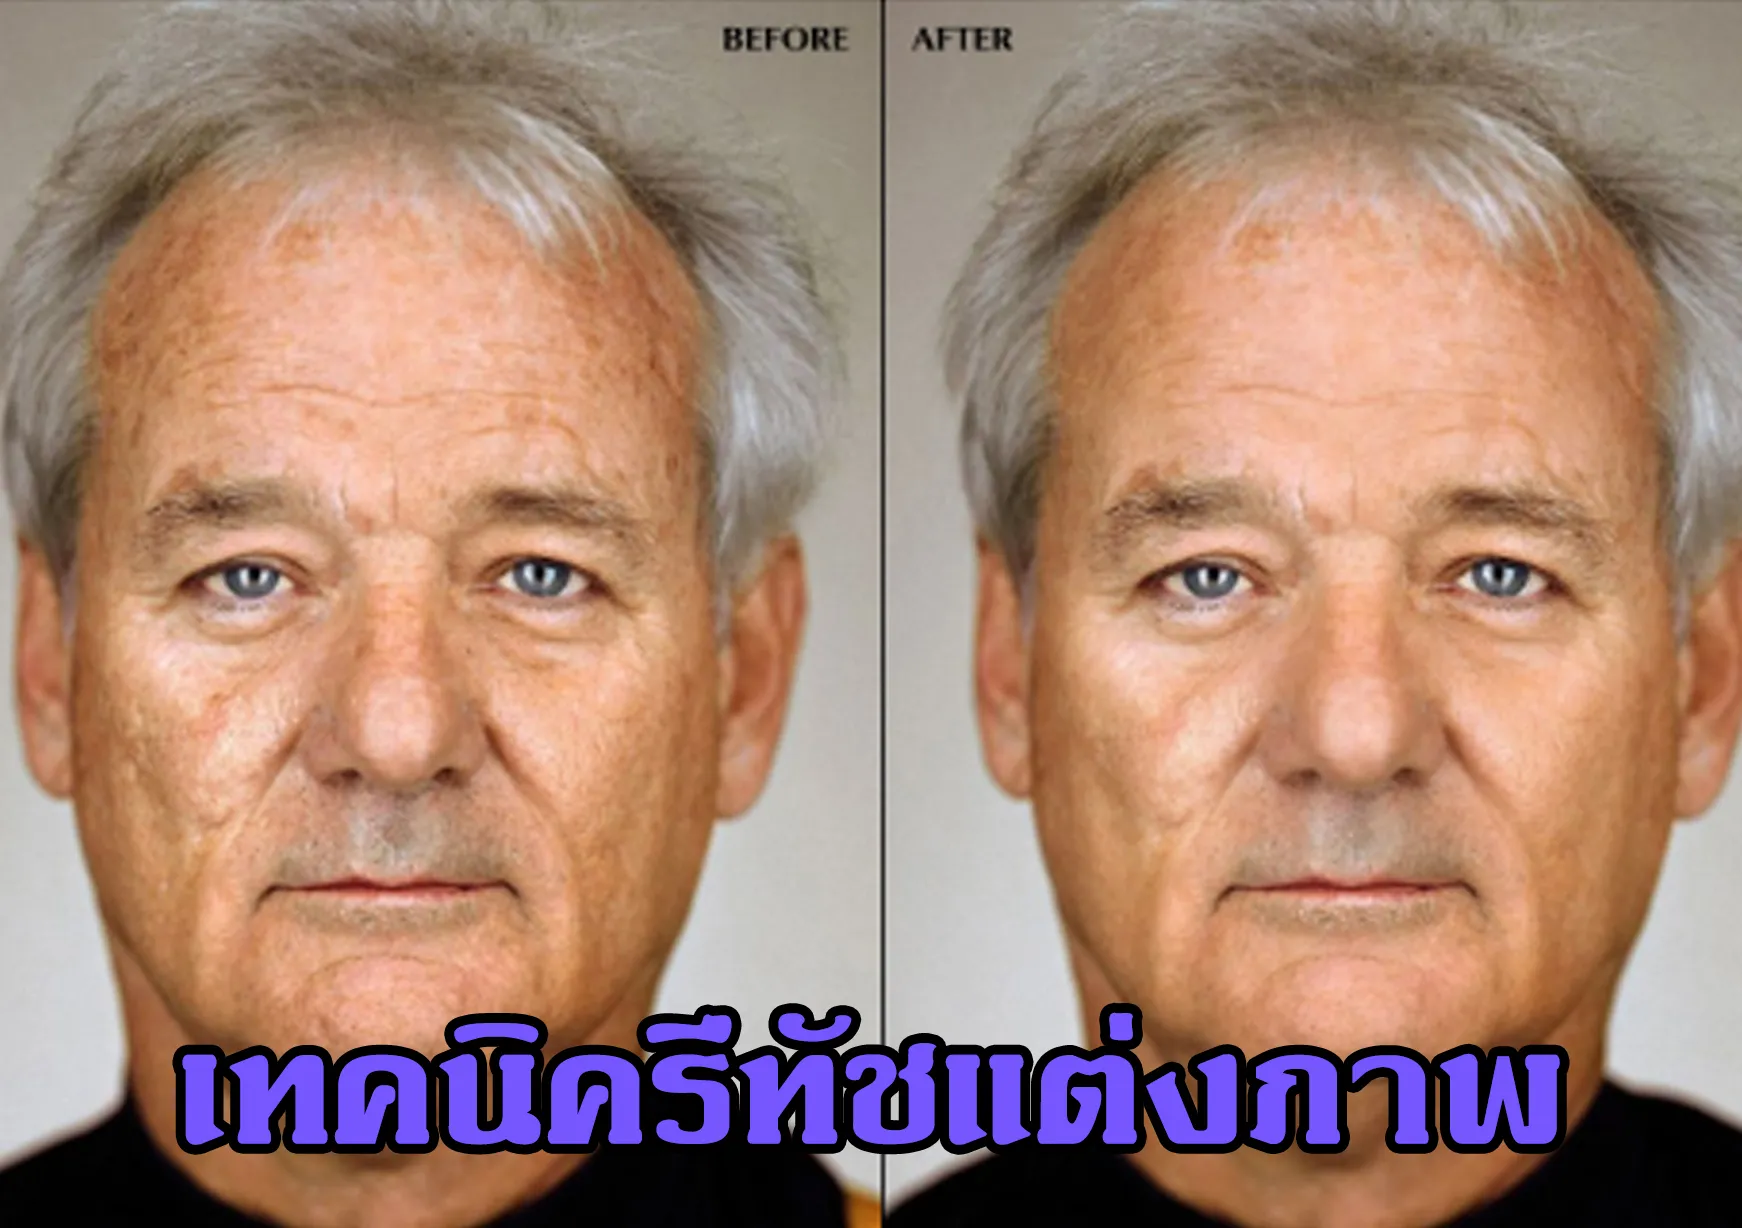
เทคนิครีทัชแต่งภาพ สำหรับ Photoshop
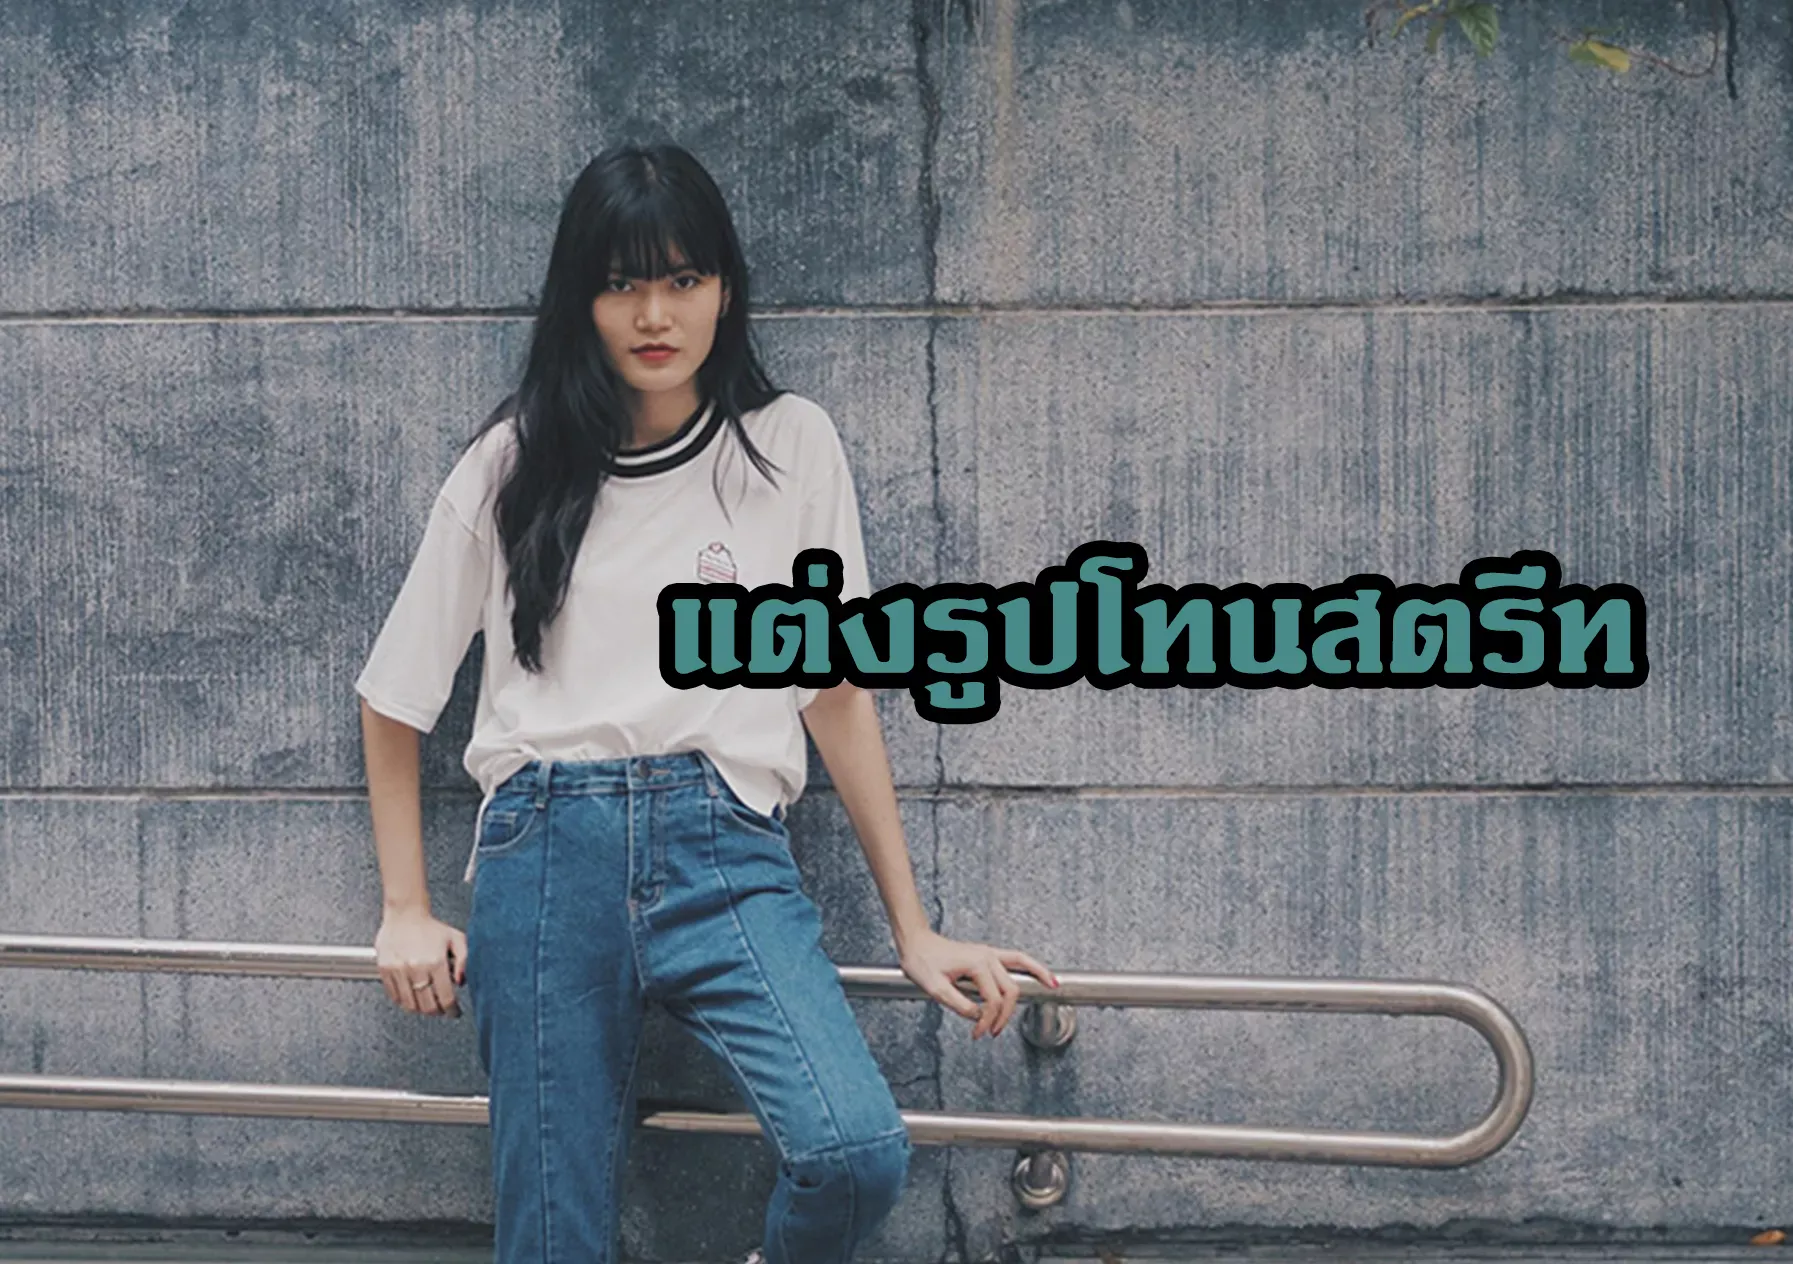
แต่งรูปโทนสตรีท HB2 แอพ VSCO
พฤษภาคม 8, 2023
แต่งโทนคลีนผิวอมชมพู
พฤษภาคม 8, 2023
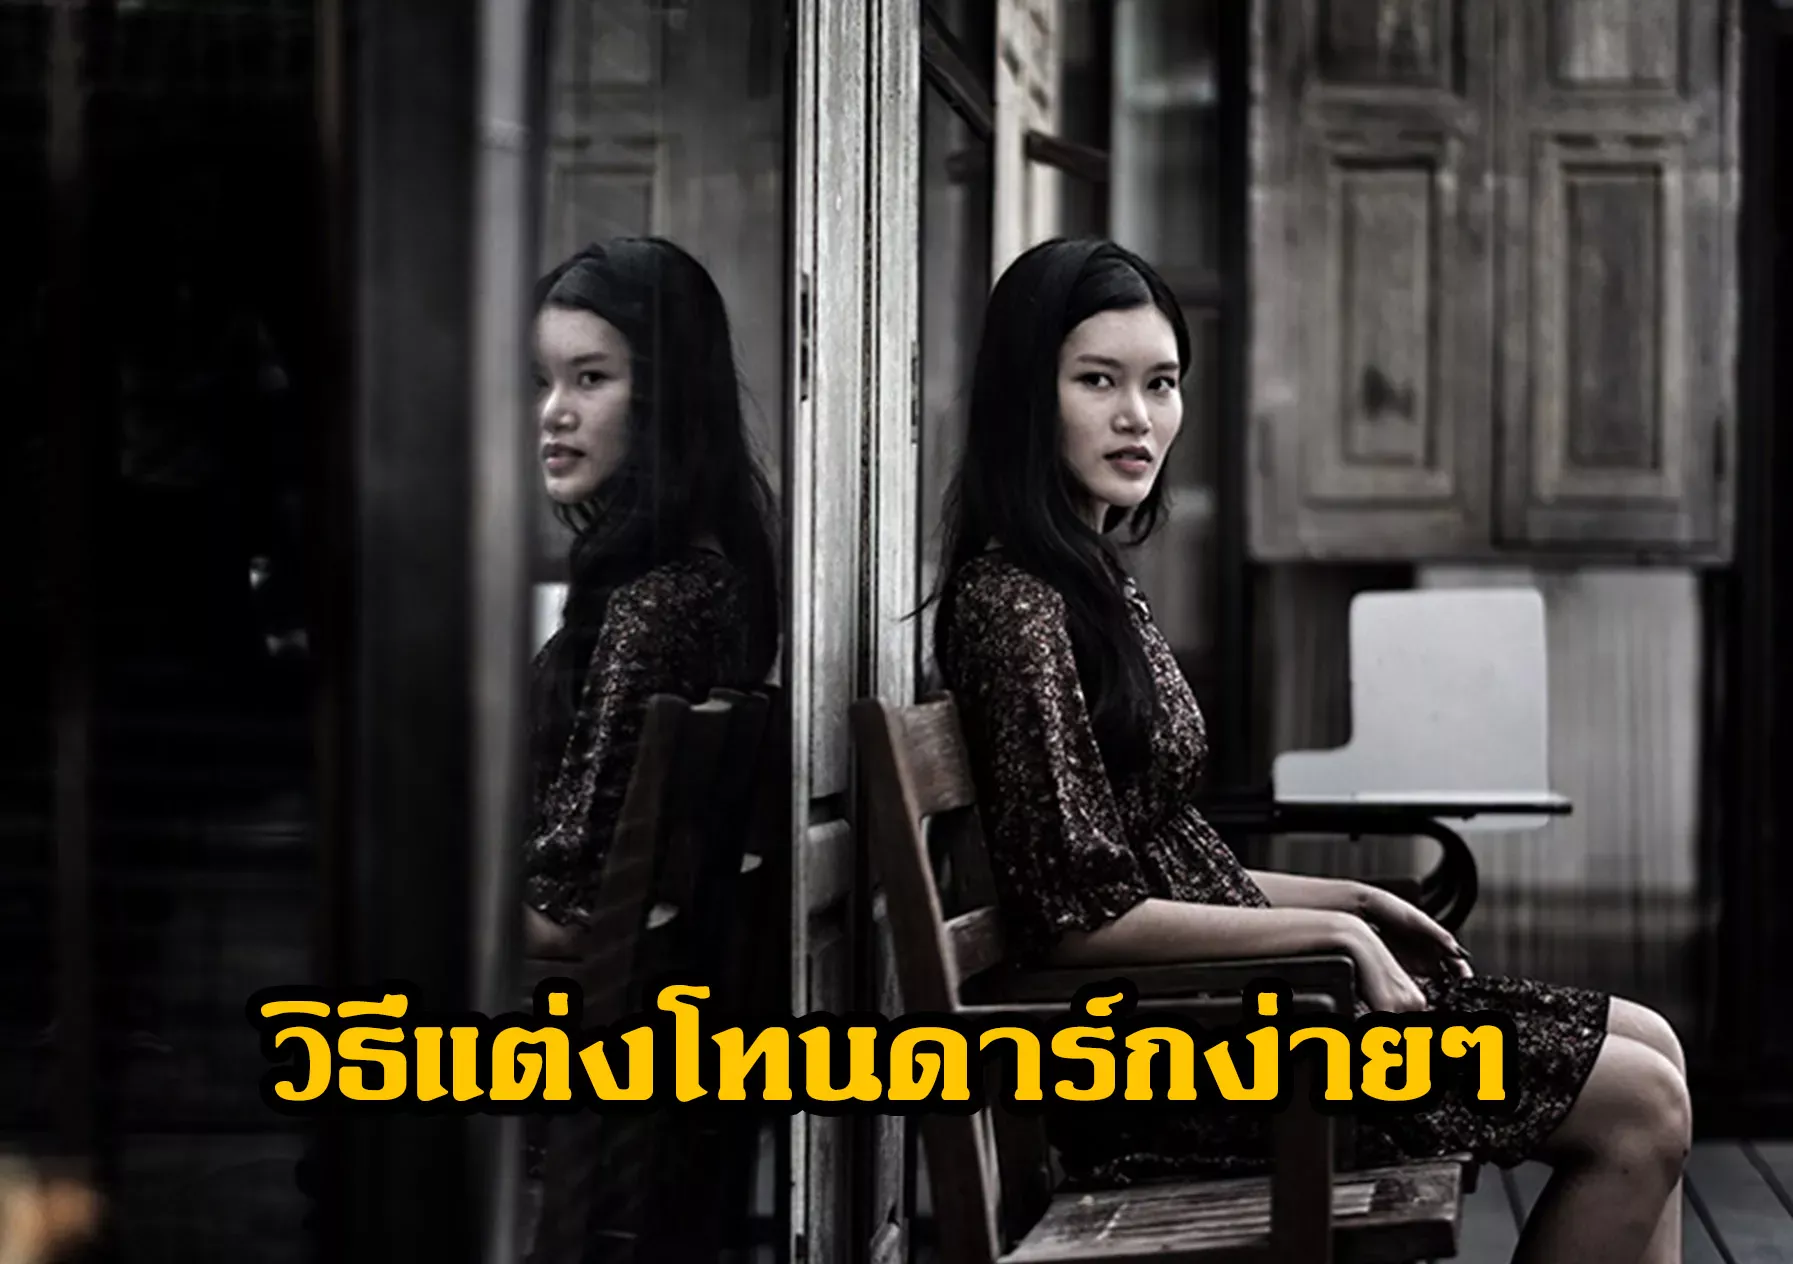
วิธีแต่งโทนดาร์กง่ายๆ ด้วยแอพ Snapseed
พฤษภาคม 7, 2023
วิธีแต่งรูปทำหัวโต ด้วยแอพ Meitu
พฤษภาคม 7, 2023
แต่งรูปเซลฟี่แอพ Ulike โทนผิวอมพูสวยๆ
พฤษภาคม 6, 2023
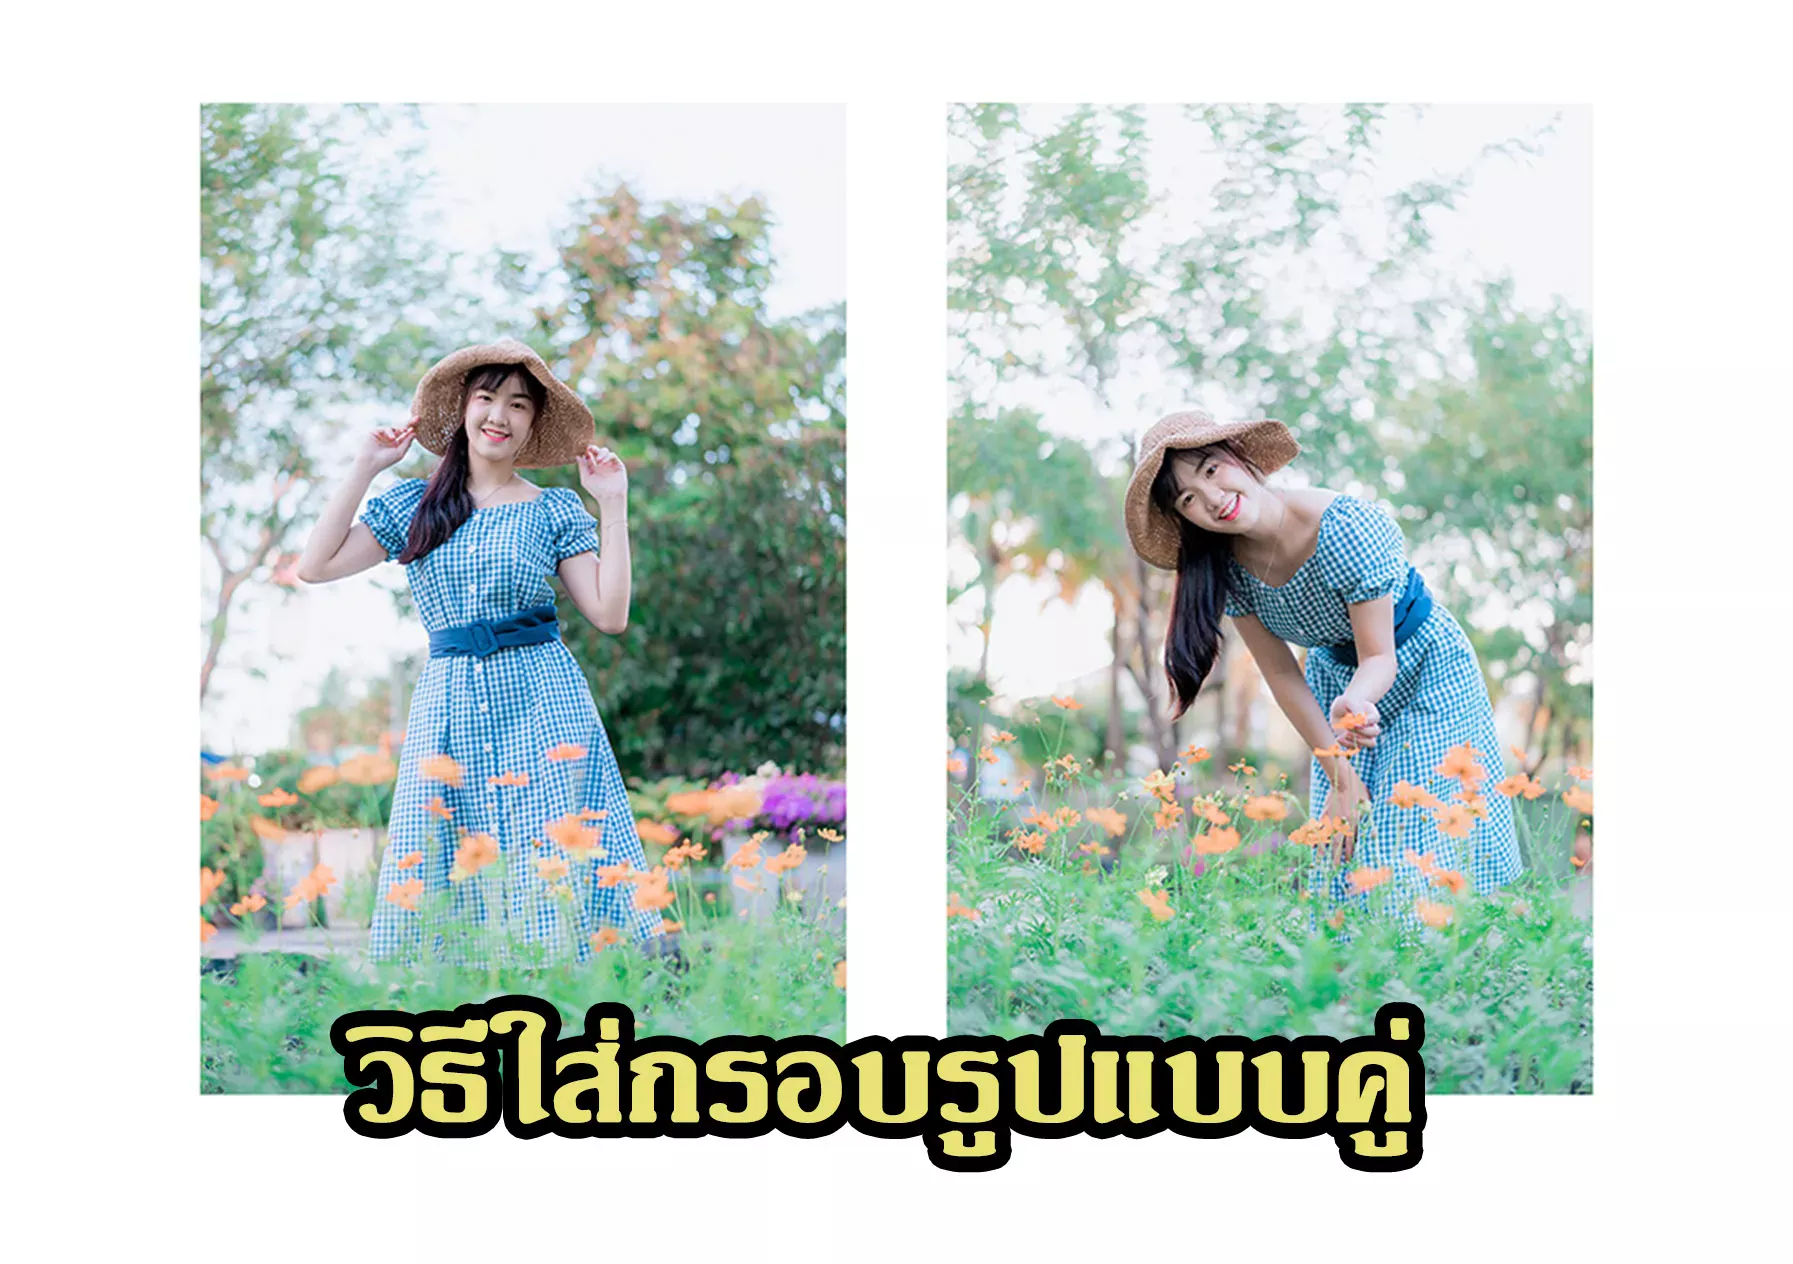
วิธีใส่กรอบรูปแบบคู่ ด้วยแอพ PicsArt
พฤษภาคม 6, 2023
แต่งรูปโทน Cool Portrait สีออกโบราณนิดๆ
พฤษภาคม 6, 2023
แนววินเทจสูตรเร่งด่วน ด้วย Lightroom
พฤษภาคม 6, 2023
แต่งรูปใส่คำแบบง่ายๆ
พฤษภาคม 4, 2023
แต่งภาพด้วย Lightroom
พฤษภาคม 4, 2023
แต่งโทน Classic Gold
พฤษภาคม 3, 2023
แต่งโทนน้ำตาลดาร์ก
พฤษภาคม 3, 2023
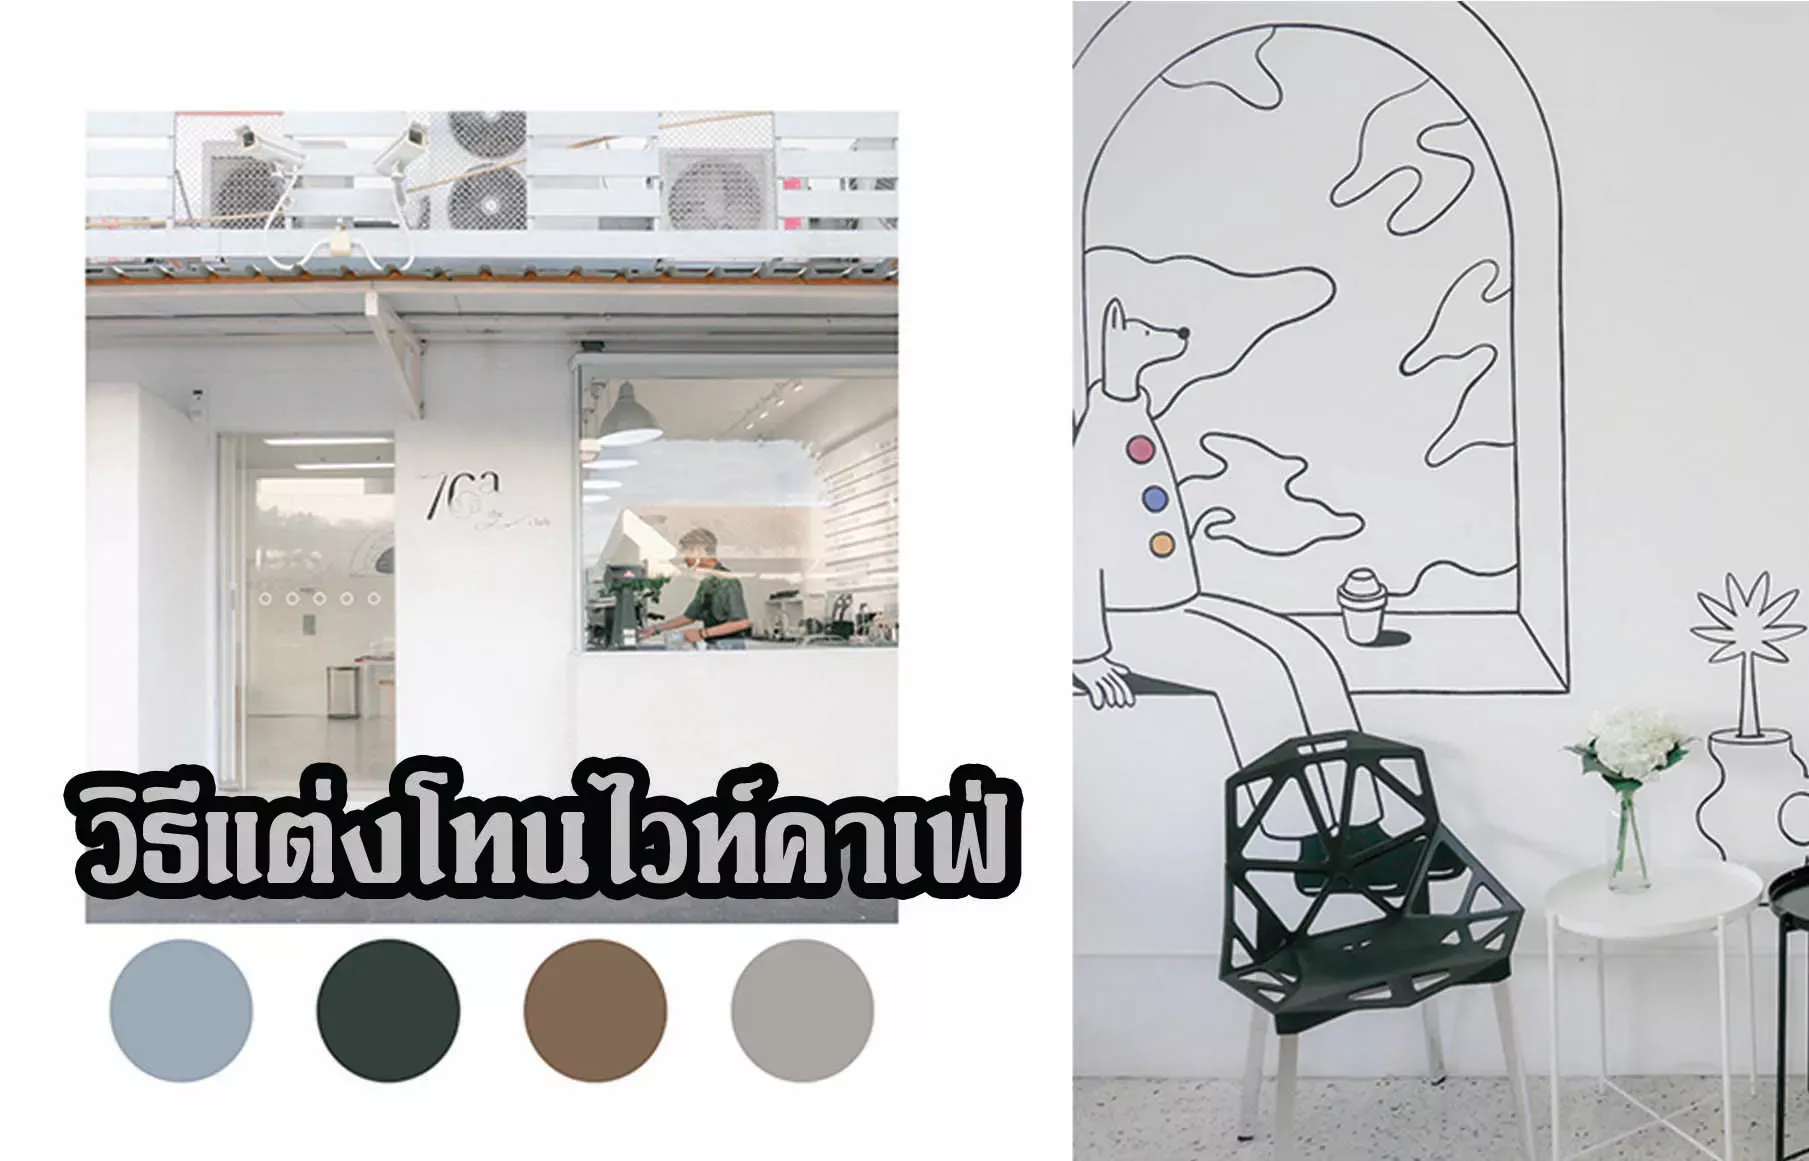
วิธีแต่งโทนไวท์คาเฟ่ ภาพแบบคลีนๆ
พฤษภาคม 2, 2023
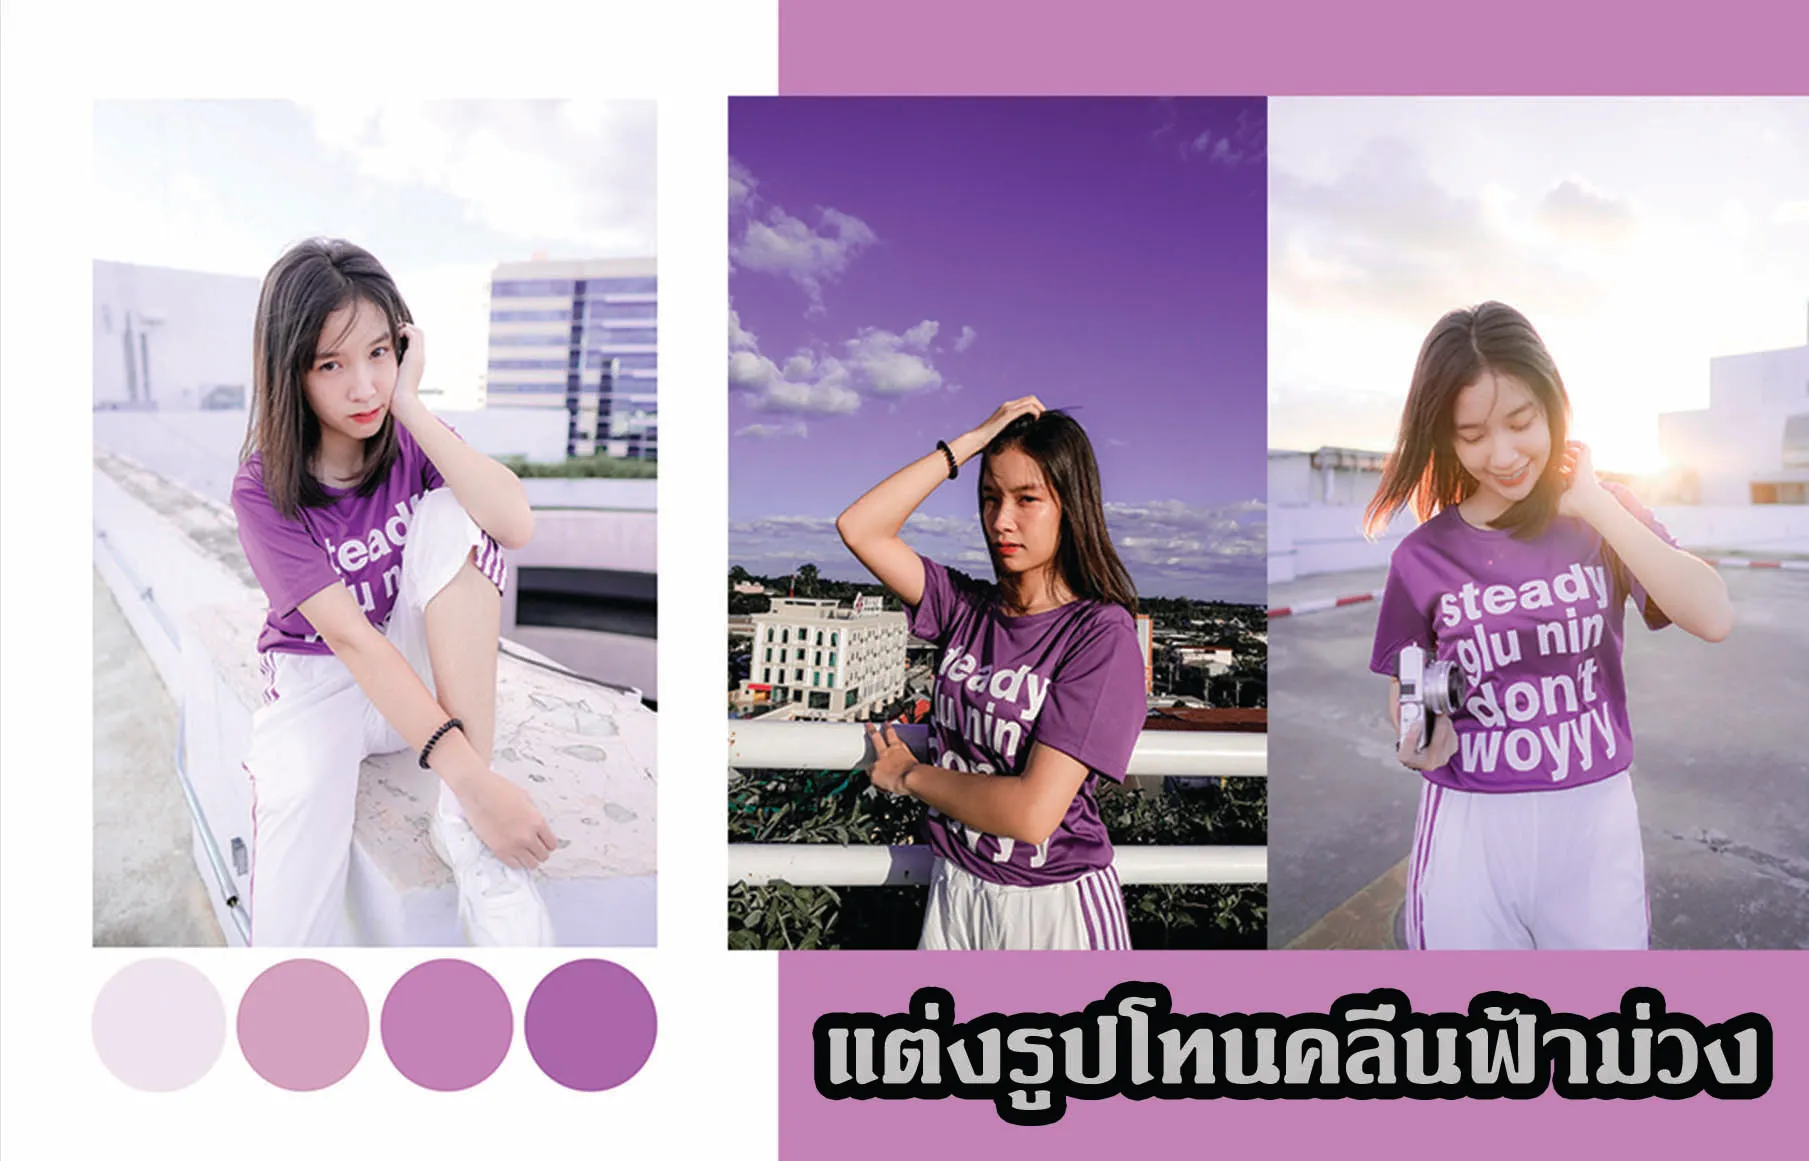
แต่งรูปโทนคลีนฟ้าม่วง
พฤษภาคม 2, 2023
แต่งรูปคุมโทนหม่นๆ
พฤษภาคม 1, 2023
6ฟิลเตอร์ฟิล์มKodak ในไอจี
พฤษภาคม 1, 2023
แต่งโทนไนท์ครีม
เมษายน 29, 2023
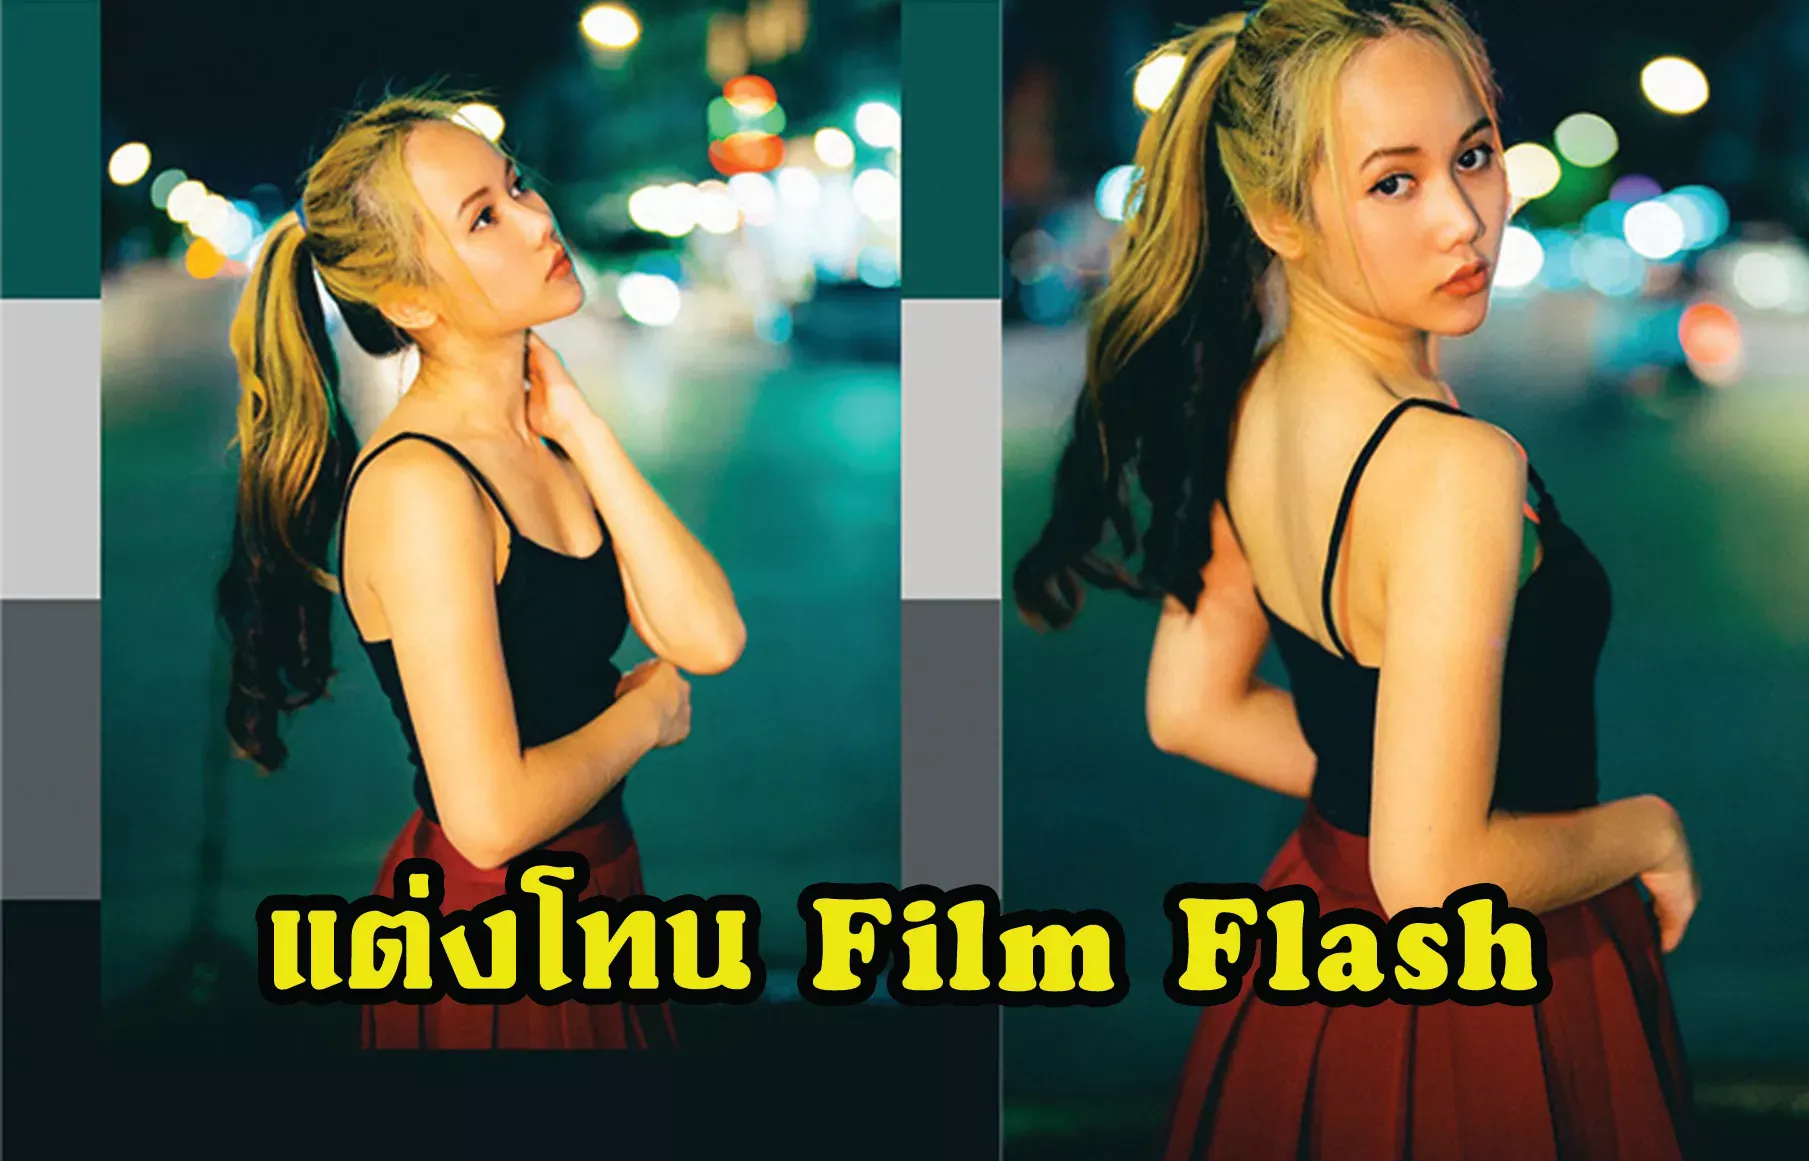
แต่งโทน Film Flash
เมษายน 29, 2023
แต่งรูปโทนฟิล์มสว่าง แอพ Lightroom มือถือ
เมษายน 28, 2023
แต่งรูปโทนสมูทไบร์ท สีสด ด้วยแอพ Lightroom
เมษายน 28, 2023
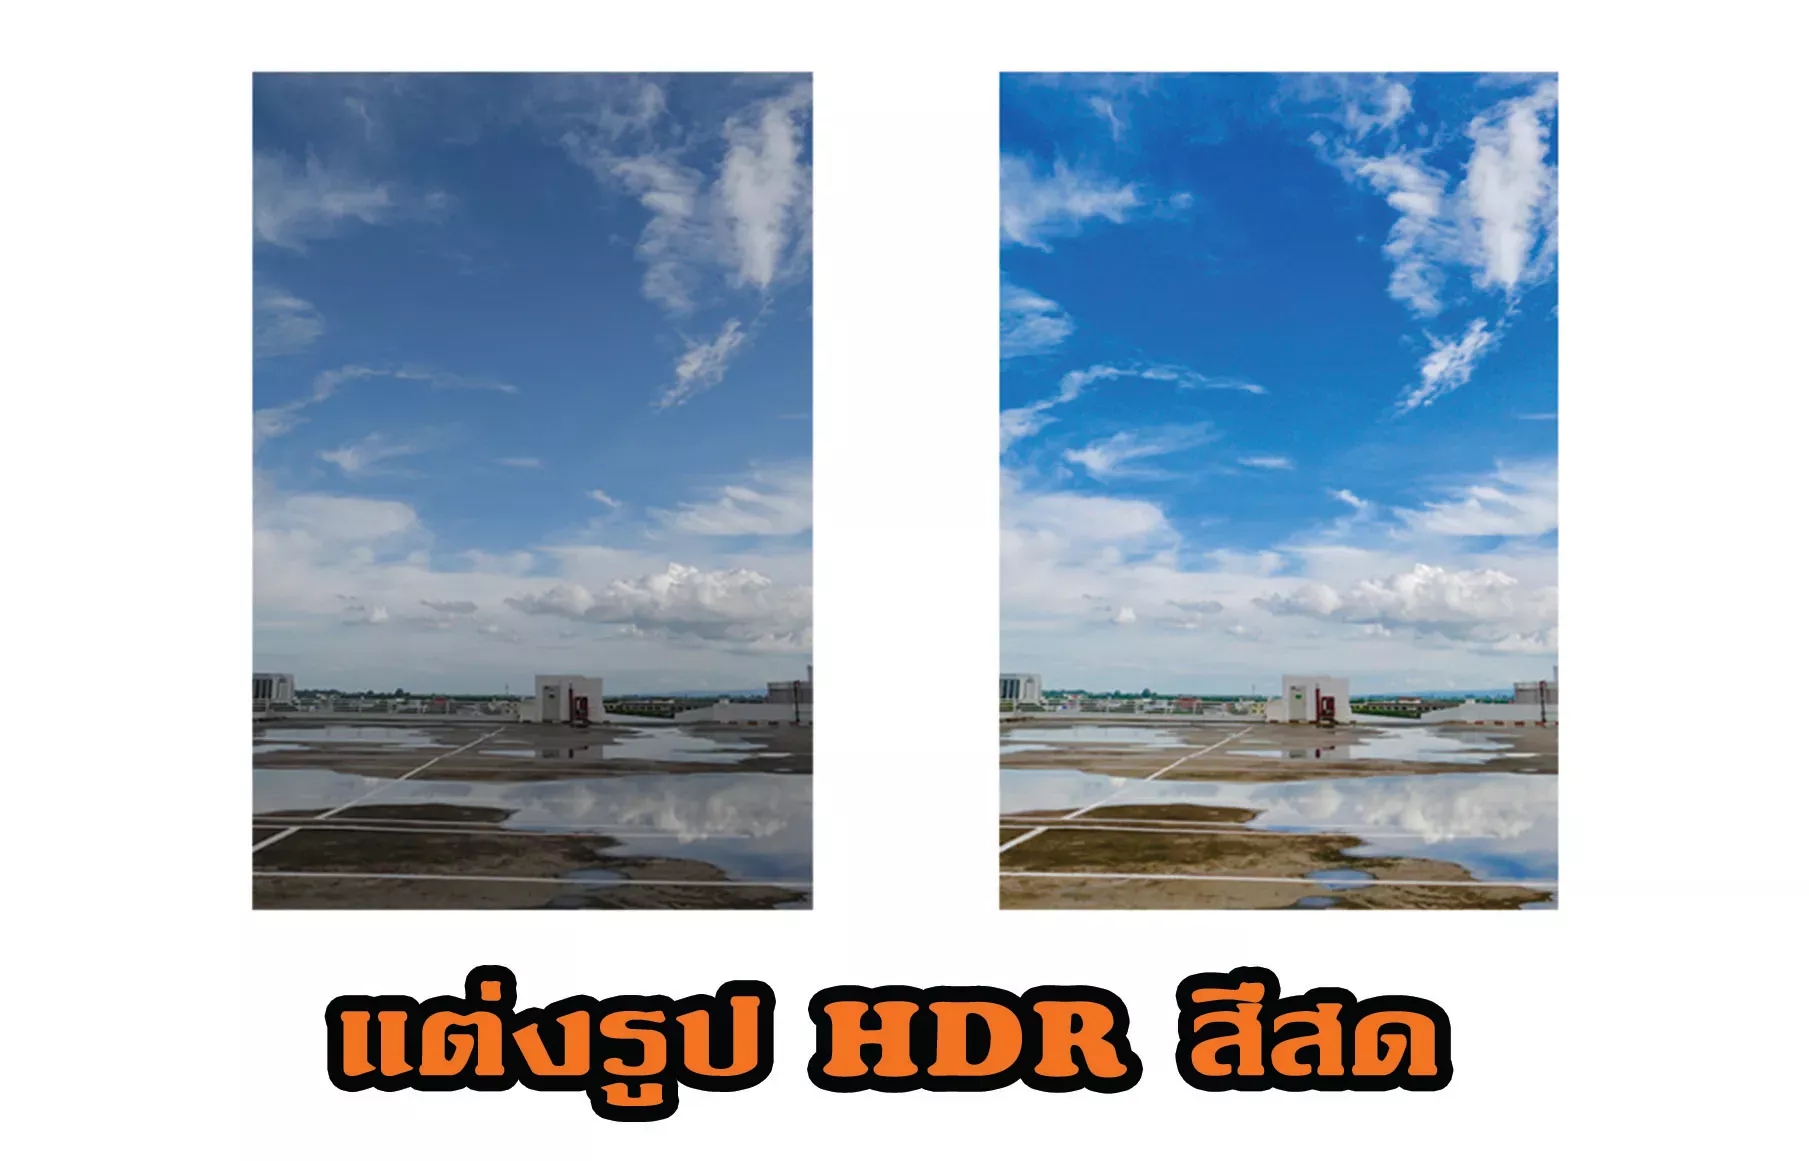
แต่งรูป HDR สีสด บน iPhone แบบไม่ใช้แอพ
เมษายน 27, 2023
แต่งรูปลายเส้นการ์ตูน
เมษายน 27, 2023
คุมโทนคาเฟ่วินเทจ เน้นปรับสีเขียวคาเฟ่ที่เป็นแนวธรรมชาติ
เมษายน 26, 2023
โทน Sweet Vintage สอนแต่งรูปด้วย Lightroom
เมษายน 26, 2023
แต่งโทนห้องสีชมพู โทนสว่างคลีนๆ
เมษายน 25, 2023
แนวสตรีทกลางคืน แสงสีจัดเต็ม
เมษายน 25, 2023
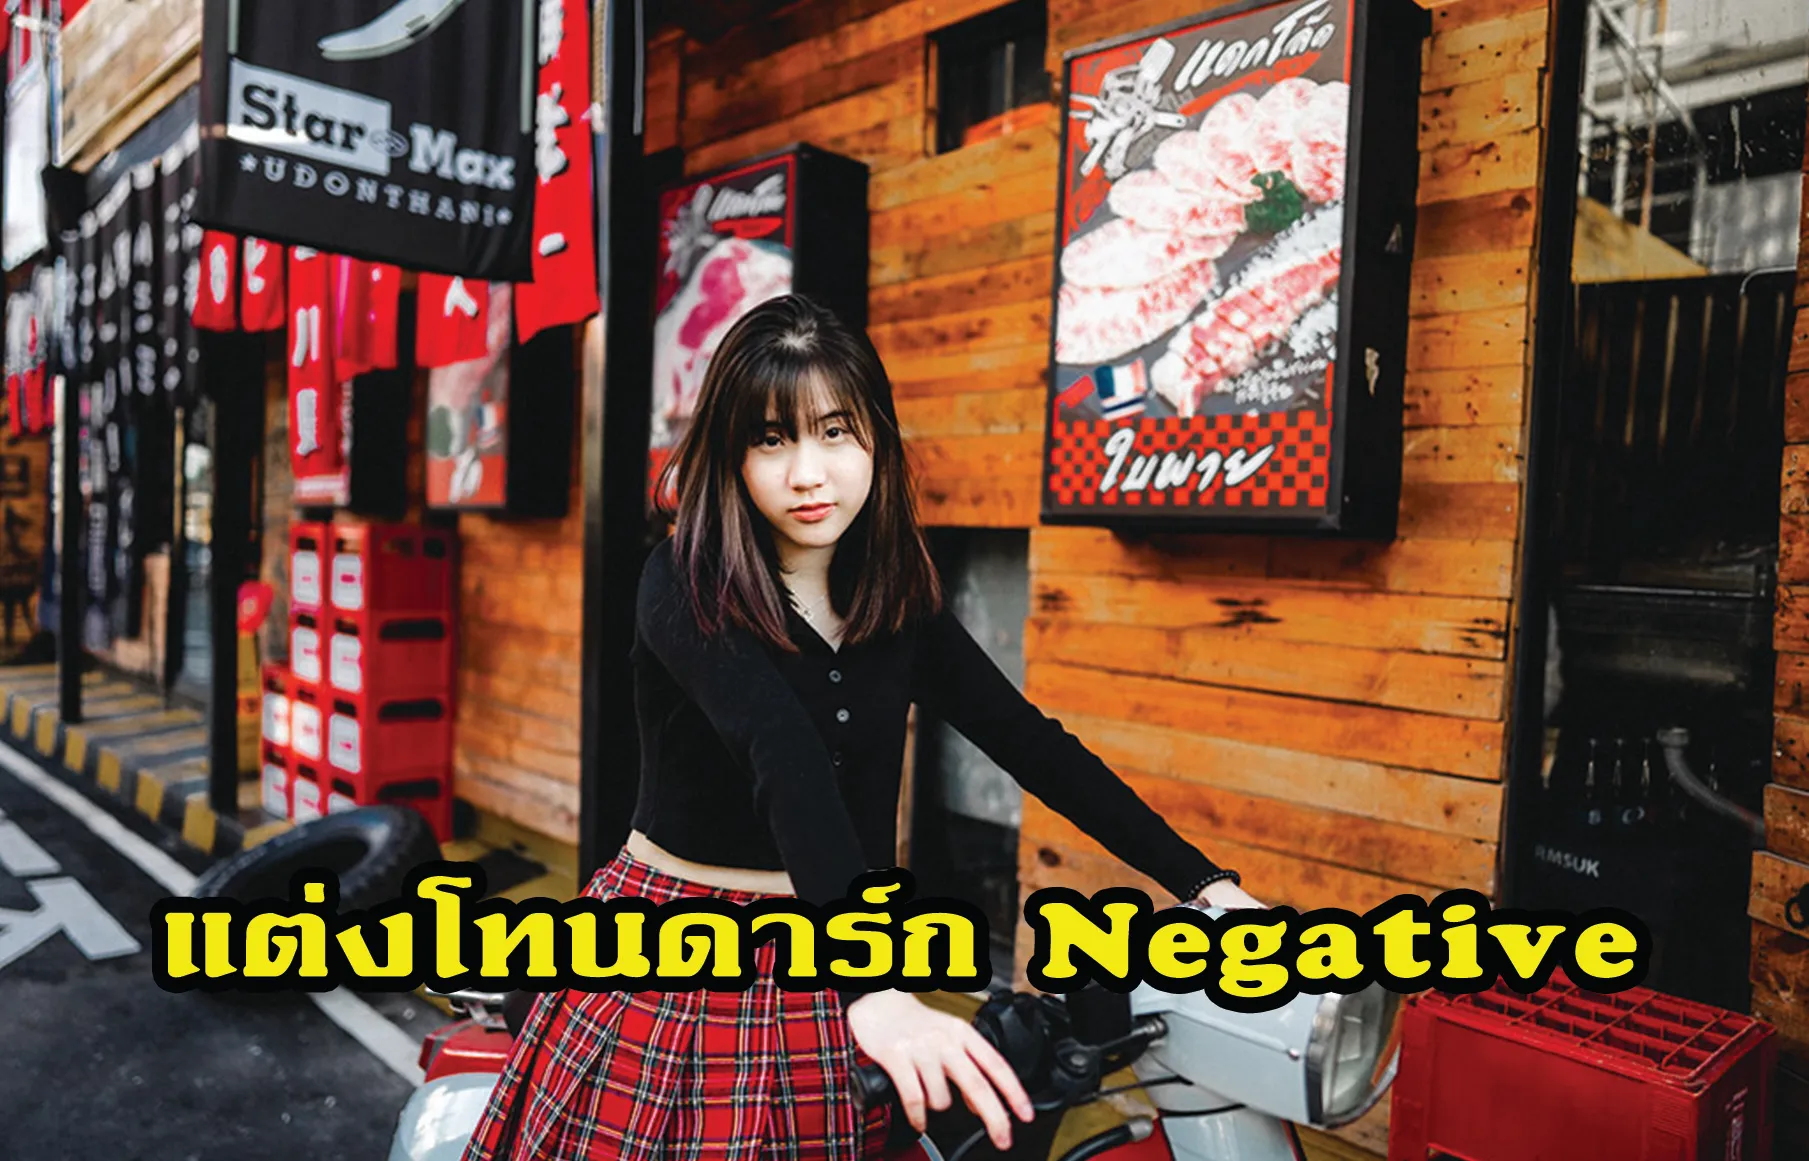
แต่งโทนดาร์ก Negative
เมษายน 24, 2023
แต่งรูปชุดไทยกลางคืน สูตรภาพกลางคืนสวยๆ
เมษายน 24, 2023
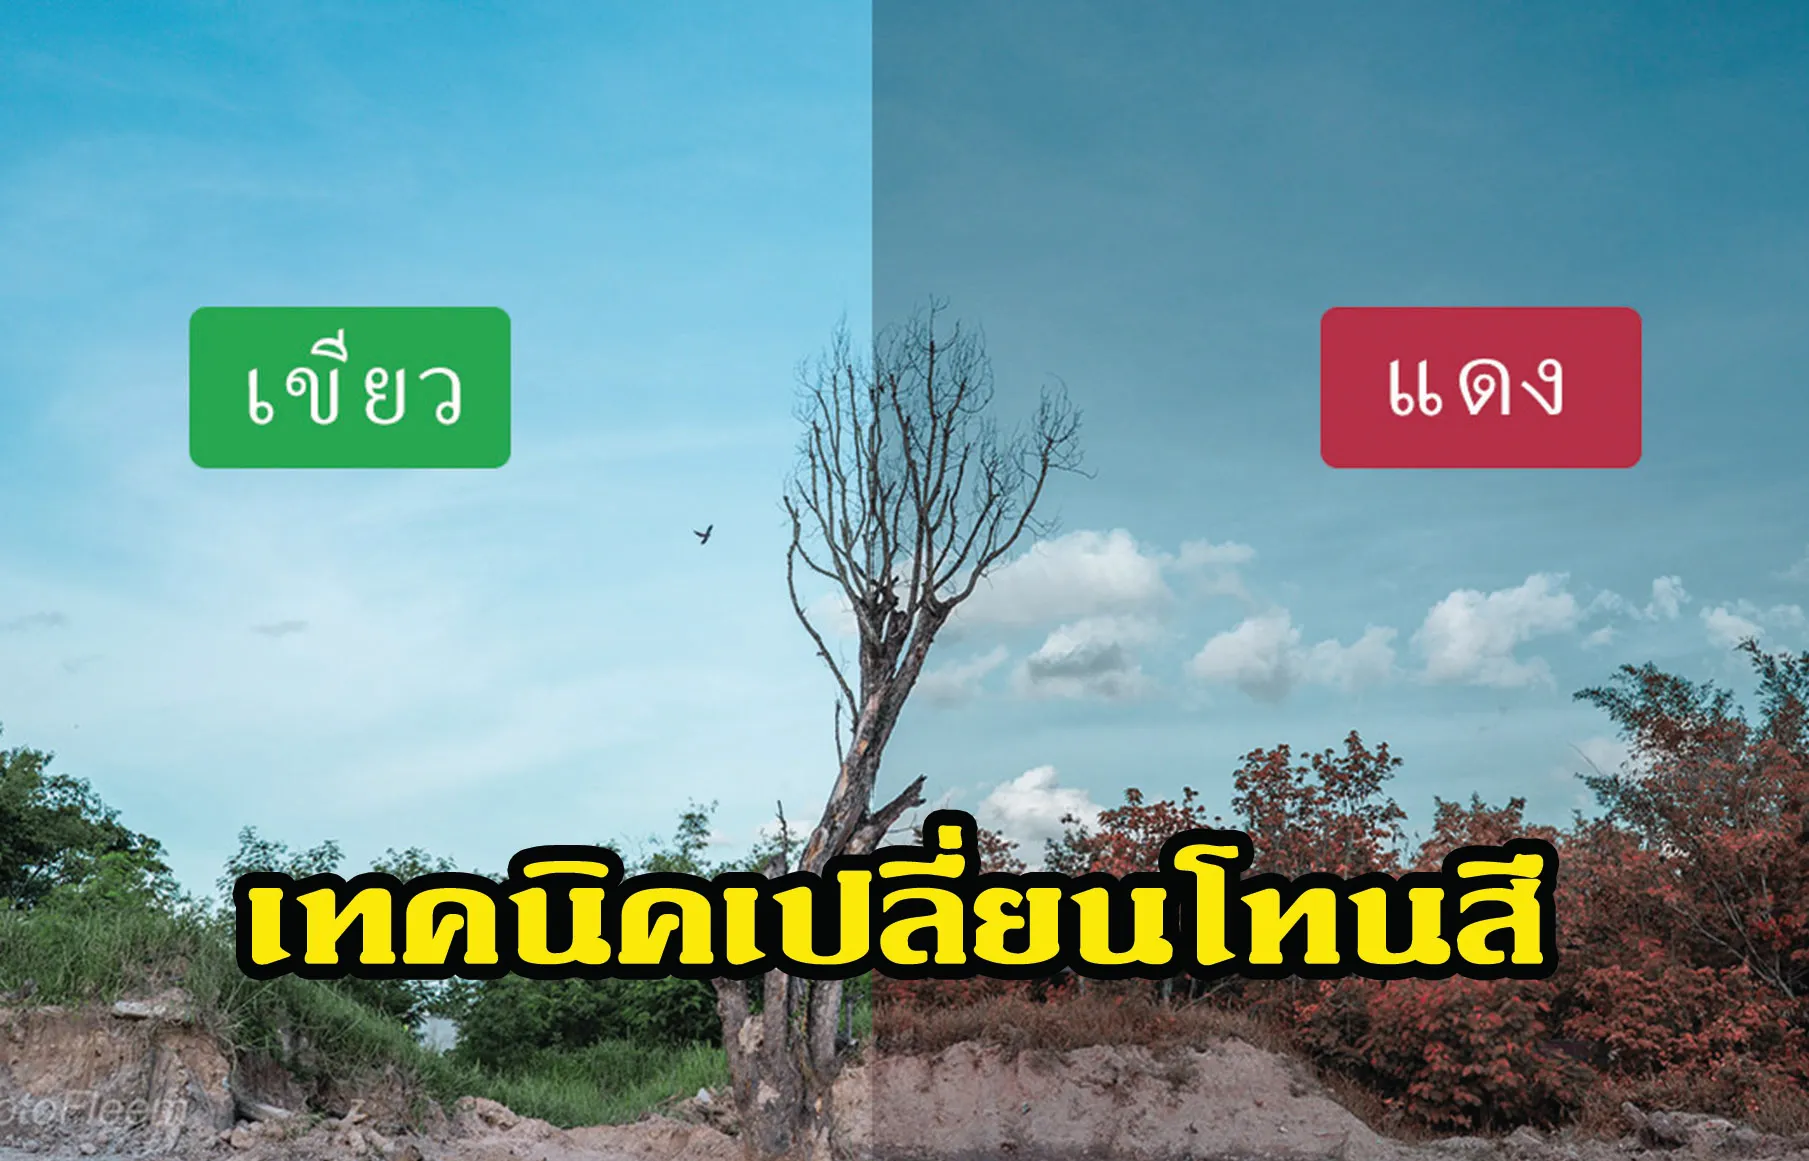
เทคนิคเปลี่ยนโทนสี เปลี่ยนเขียวใบไม้ เป็นสีแดง/ส้ม
เมษายน 22, 2023
วิธีลด Noise พื้นฐาน ด้วยแอพ Lightroom
เมษายน 22, 2023
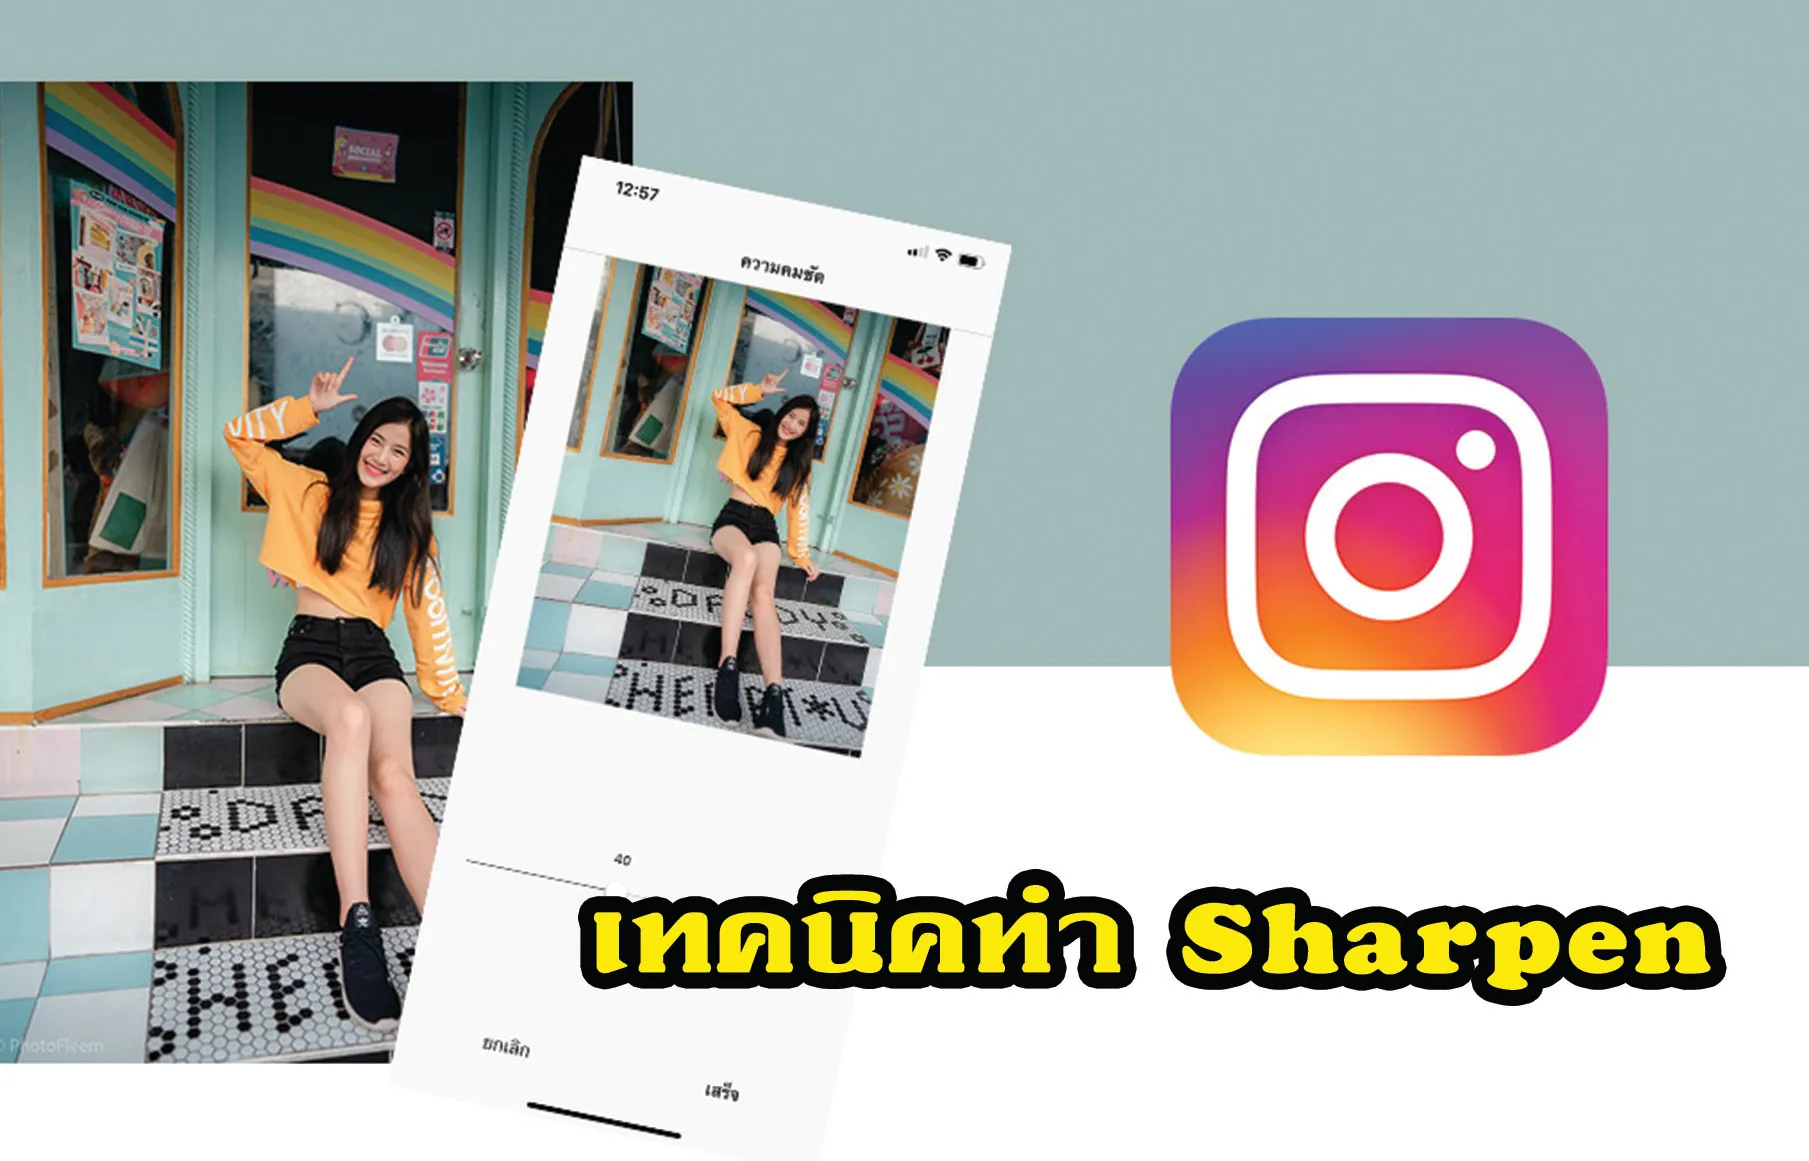
เทคนิคทำ Sharpen ให้ภาพคมชัดใน Instagram
เมษายน 21, 2023
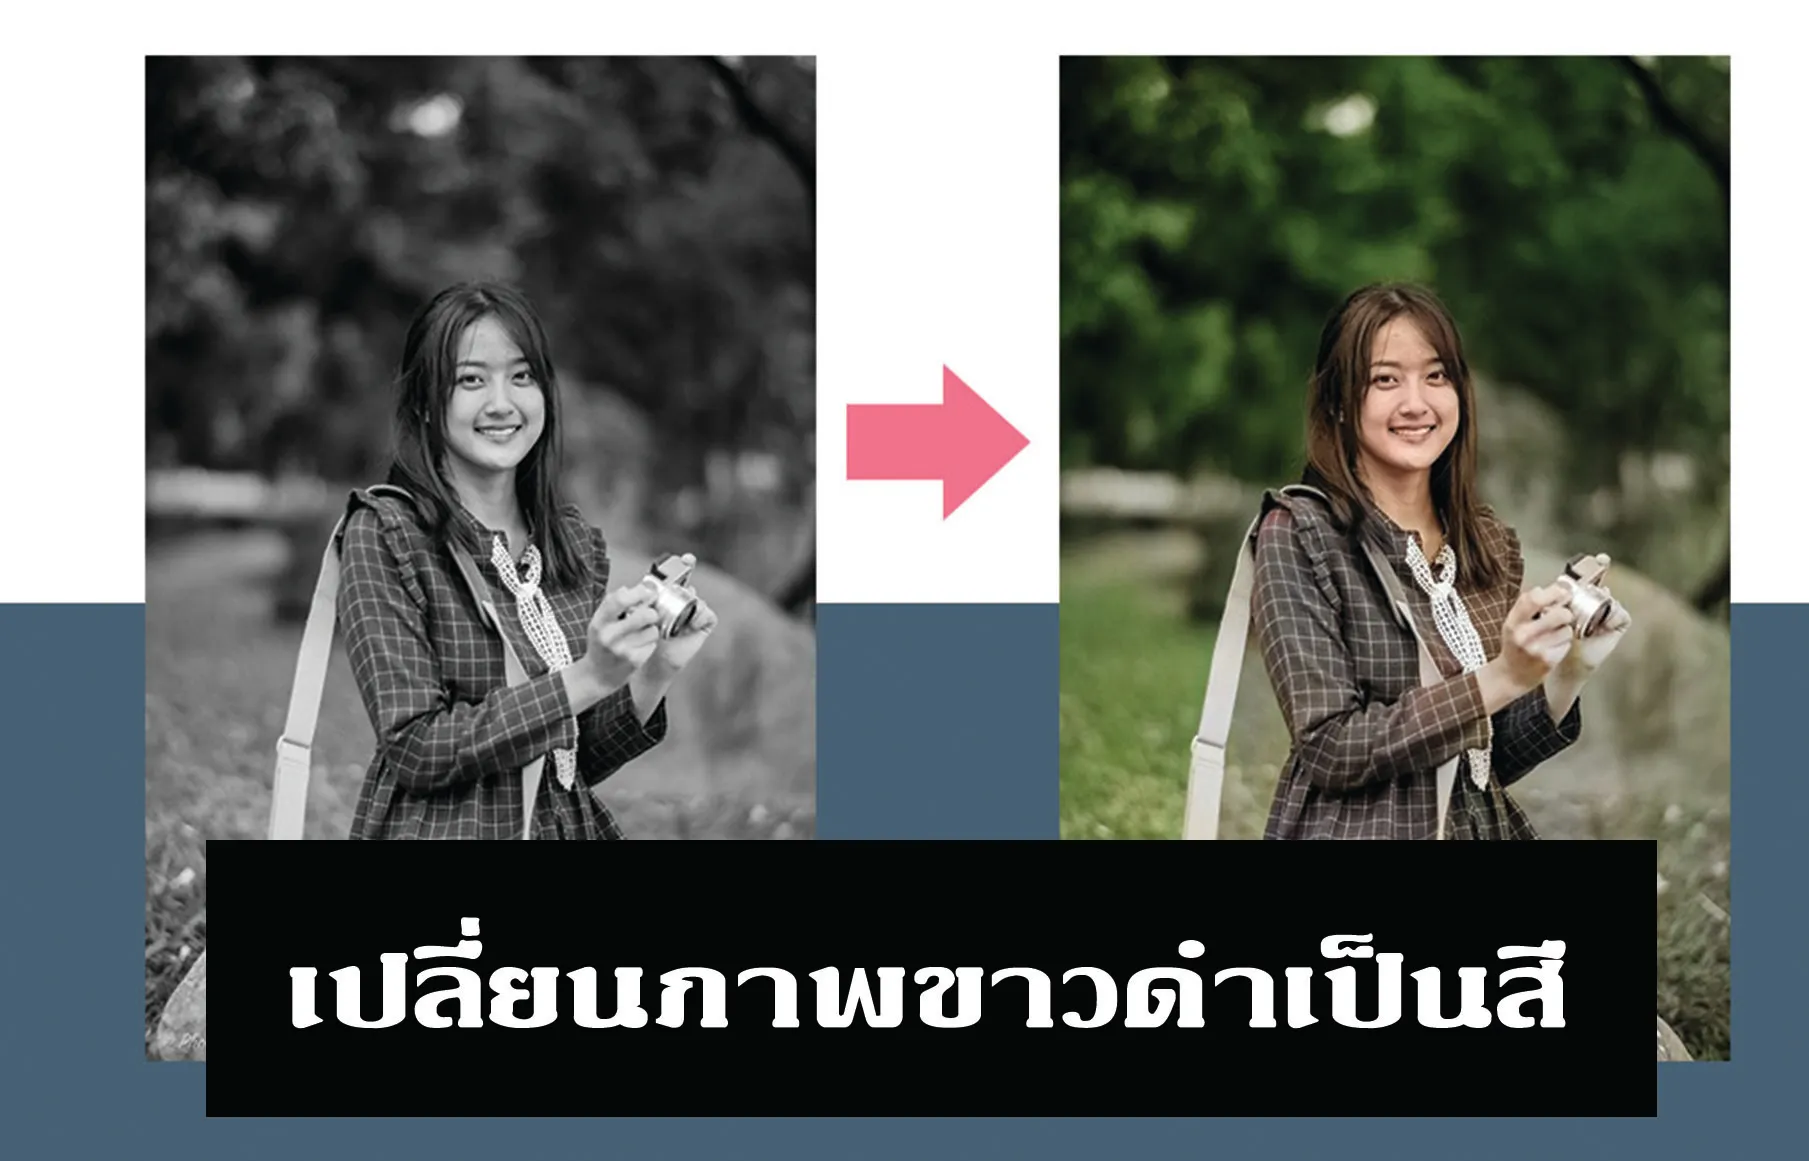
เปลี่ยนภาพขาวดำเป็นสี ด้วย Photoshop
เมษายน 21, 2023
แต่งรูปโทนตู้เกมสดใส VSCO X
เมษายน 20, 2023
แต่งโทนดาร์กเรด แนวสตรีทกลางคืน
เมษายน 20, 2023
แต่งโทนกลางแดดคลีน
เมษายน 18, 2023
แต่งโทนไนท์วินเทจ แต่งรูปกลางคืน
เมษายน 18, 2023
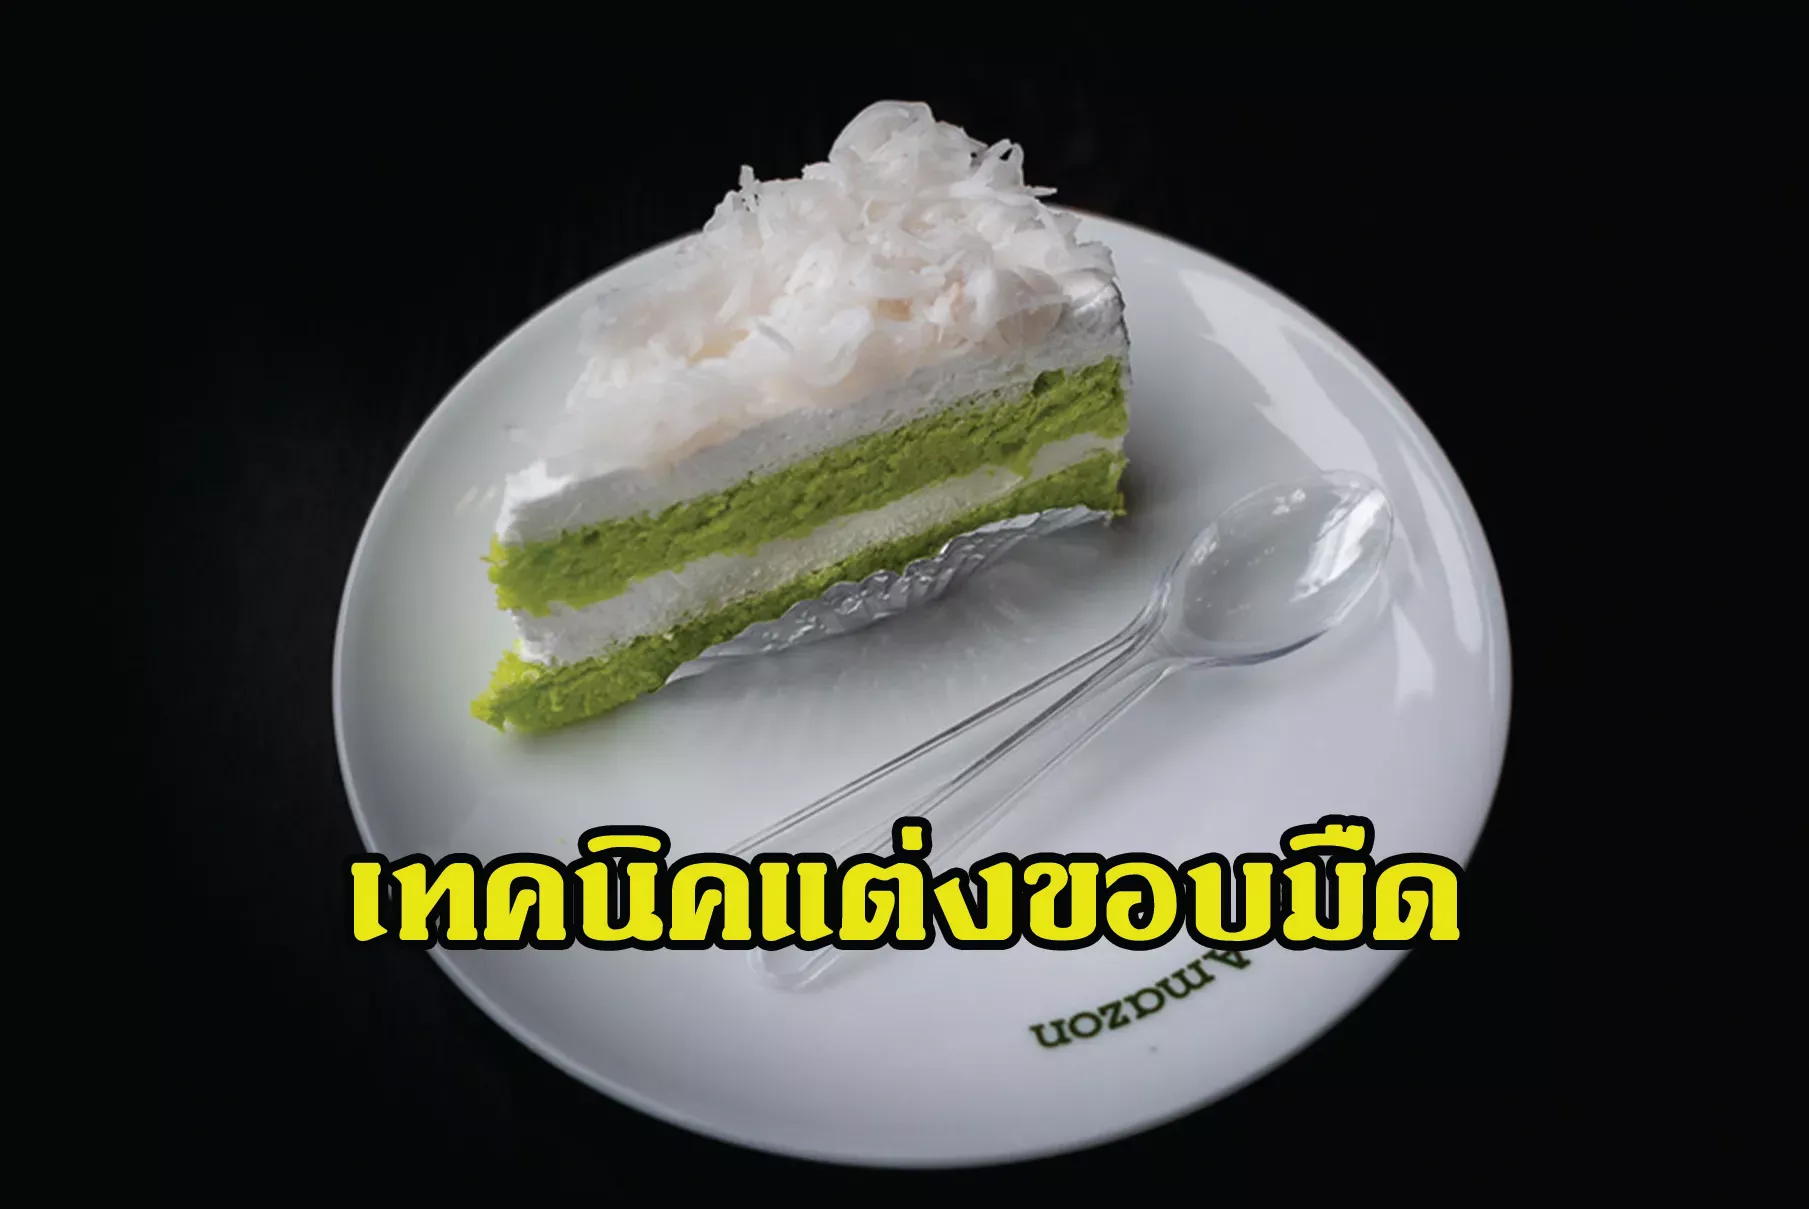
เทคนิคแต่งขอบมืด ให้กลางรูปโดดเด่น
เมษายน 18, 2023
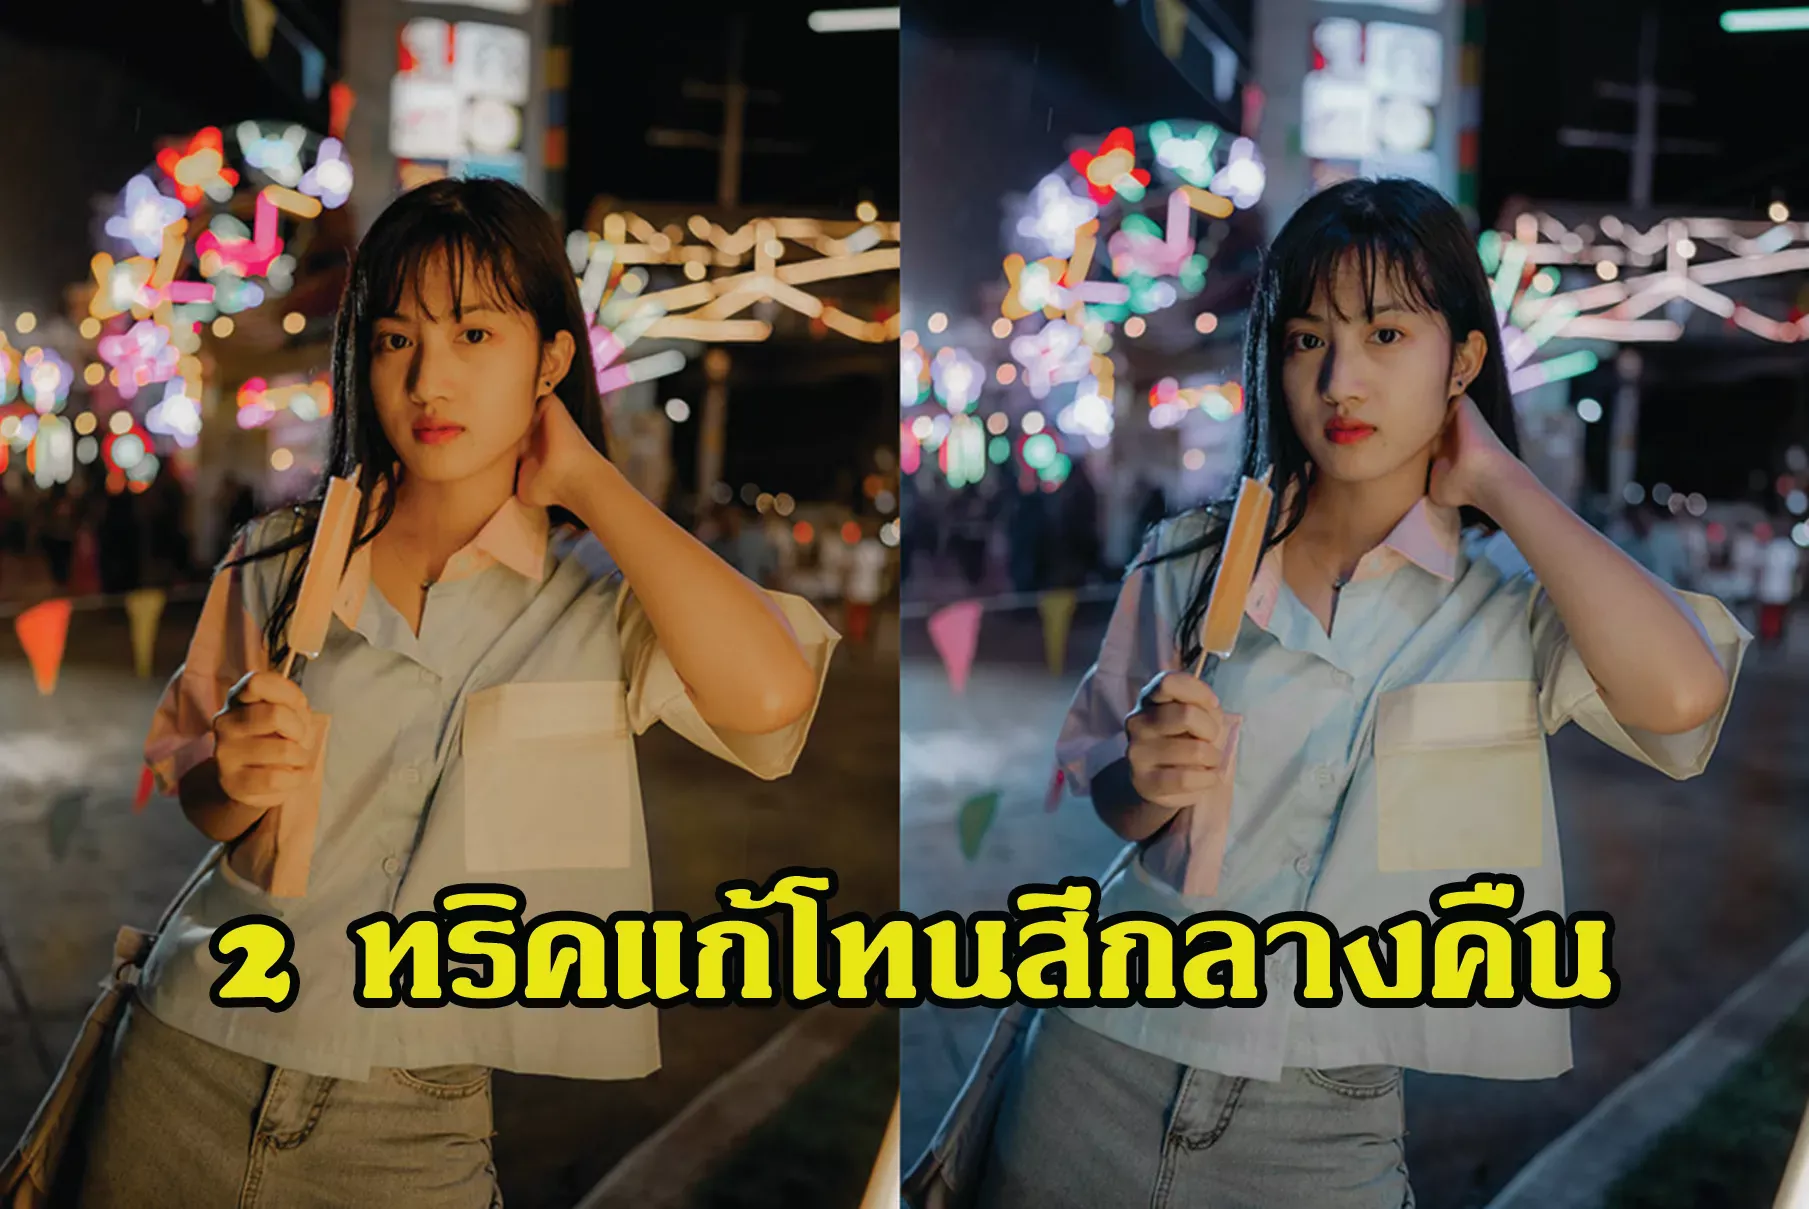
2ทริคแก้โทนสีกลางคืน
เมษายน 18, 2023
แต่งโทน Night Teal
เมษายน 14, 2023
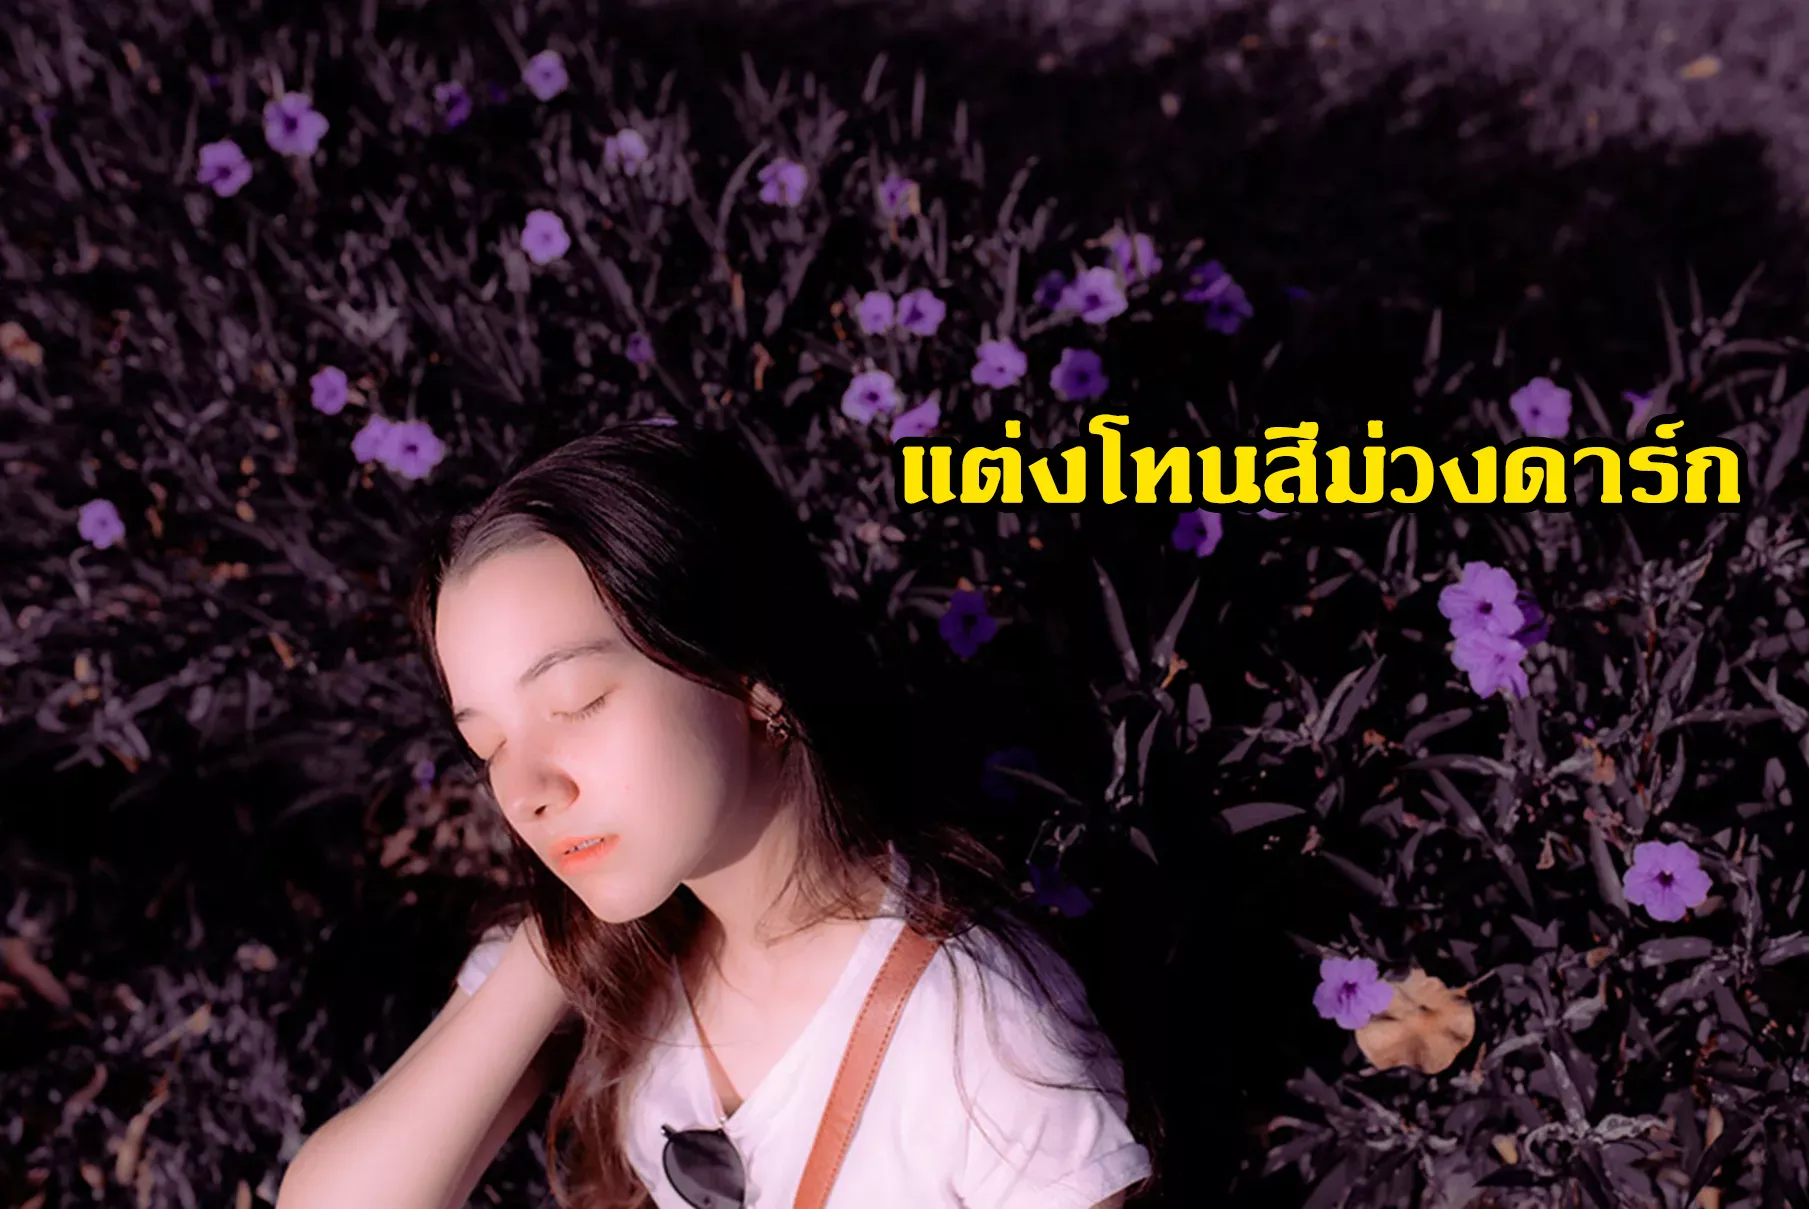
แต่งโทนสีม่วงดาร์ก
เมษายน 14, 2023
« Previous
Next »